Smartphone Controlled Arduino Car with Auto-Mode
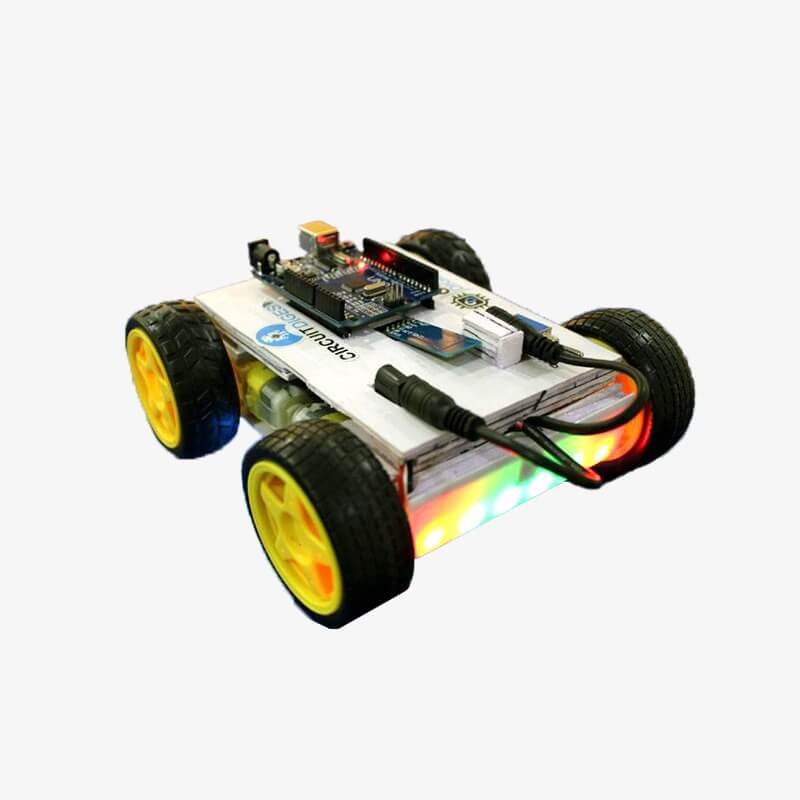
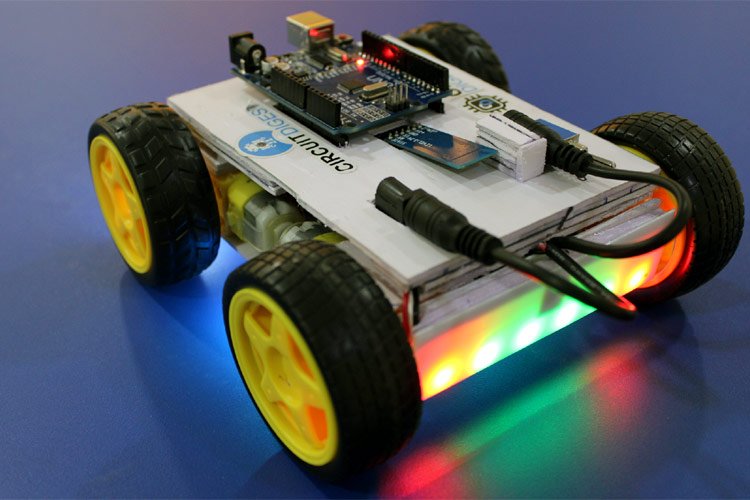
In this project I’ve built a smartphone controlled car where the car either can be steered by user or moves automatically.
Tools and machines
Apps and platforms
Components and supplies
Calling all tinkerers, tech enthusiasts, and robot aficionados! Are you ready to unleash your inner inventor and build a robot car that dances to your smartphone’s commands? This guide will be your roadmap to crafting a mini marvel that zips and zooms under your wireless control. Buckle up, because we’re about to dive into the exciting world of Bluetooth-controlled robotics!
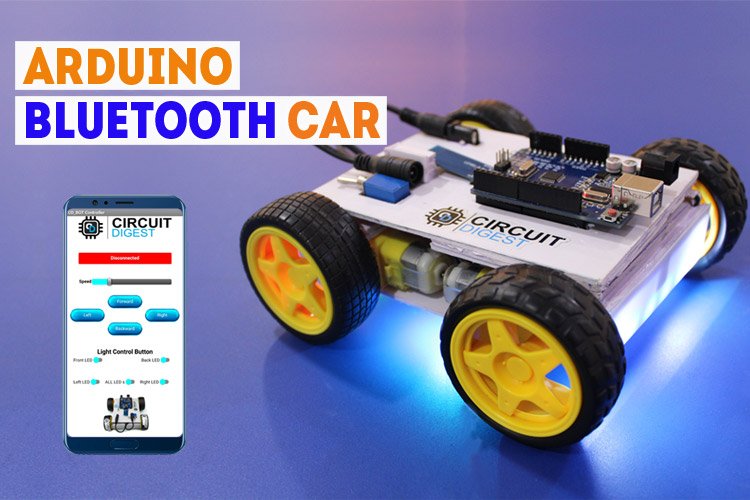
SmartPhone Controlled Arduino Based Bluetooth Car
Have you ever dreamt of commanding a robot car with just your phone? Well, dream no more! This project equips you with the tools and know-how to build your very own Bluetooth-controlled robot car, ready to zoom and zip at your every whim.
Gather your tools and troops (components, that is):
The brains: An Arduino Uno, the mastermind behind the magic.
The translator: An HC05 Bluetooth module, your car’s interpreter for smartphone commands.
The muscle: L298N motor driver, the beefy guy controlling those zippy wheels.
The bling: NeoPixel LEDs, because who doesn’t love a car with dazzling lights?
The base: Perfboard and Sunboard, the sturdy foundation for your creation.
The connections: Jumper wires, the colorful threads that bring everything together.
The fuel: A battery, to keep your robot rolling (safely, of course!).
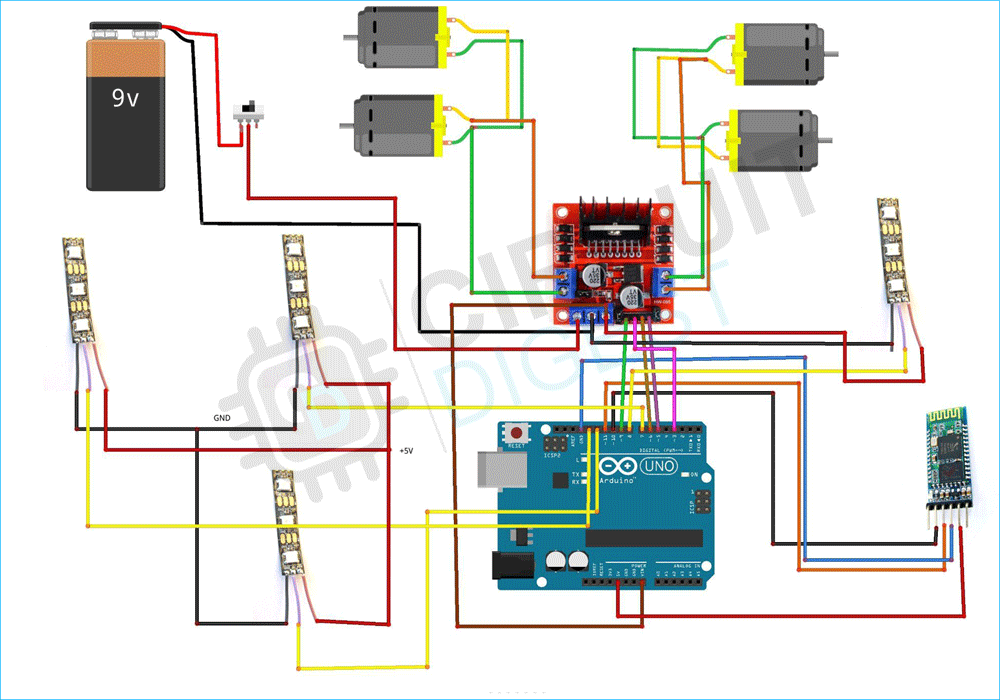
Circuit Diargam for Bluetooth Controlled Robot
Step 1:
Craft the chassis, the car’s core:
Imagine your robot’s frame. Sunboard is your friend here! Cut precise pieces based on the guide (remember, measuring twice cuts once!). Assemble them like a mini puzzle, creating a strong and stable base for your future masterpiece.
Step 2:
Motor magic, let the wheels spin:
Time to get those motors talking to the driver! Mount them securely on the chassis. Connect them to the L298N module using the jumper wires, following the wiring diagram like a treasure map. Remember, correct connections are key to smooth sailing (or should we say, driving?).
Step 3
: Bling it up with dazzling LEDs:
Let your creativity shine! Place the NeoPixel LEDs on the front, back, and bottom of your car. Connect them to the Arduino, following the color-coded guide. Soon, your robot will be a beacon of programmable light!
Step 4:
Code the commands, unlock the moves:
The Arduino code is the secret sauce that brings your car to life. It translates the Bluetooth commands from your phone into actions for the motors and LEDs. The provided code is a great starting point, but feel free to experiment and add your own personal touch
Step 5: The grand finale
:Testing and triumphant tinkering
With everything assembled and programmed, it’s time for the moment of truth! Connect your phone via Bluetooth, open the app, and…voila! Your robot car should whiz forward, reverse, turn, and even light up on your command. If not, don’t fret! Troubleshooting is part of the fun. Double-check connections, codes, and app settings. Remember, even the coolest robots need a little tinkering love sometimes.
Bonus tip: Don’t stop there! This is just the beginning of your robotic adventure. Add features like obstacle avoidance sensors, line following capabilities, or even a robotic arm. The possibilities are endless, limited only by your imagination and ingenuity.
Source: The project was originally published on CircuitDigest, checkout for more detias.
Components and supplies
SH-HC-08 Bluetooth 4.0 BLE Module
L298N Motor Driver Dual H-Bridge
18650 Li-on Battery
Jumper wires (generic)
Rocker Switch, SPST
Battery Holder, 18650 x 2
SG90 Micro-servo motor
Ultrasonic Sensor – HC-SR04 (Generic)
DC 3V – 6V gear motor and wheel
Acrylic Sheet
Arduino Mega 2560
Tools and machines
Soldering iron (generic)
Hot glue gun (generic)
Apps and platforms
Arduino IDE
I, as a student in the fields of engineering, wanted to learn the interplay of sensors and actuators controlled by a code. Here several arduino projects give the perfect setup of learning by doing closely on either hardware and software matters.
I’ve decided to build a car controlled by a smartphone app via bluetooth. The ideas for different approaches were found on project hubs like this website. Here it was important for me to not simply copy a project and the according code. Using the information on project hubs I’ve decided which optional functions I want to include in my car. The app (ArduinoBlue) I used was already made and is available on IOS or Android.
My car can be turned on with the switch and has two different modes:
- Steering mode: Switching on the system the car is always in steering mode. Here the user can steer the car via stick on the “ArduinoBlue” app. By the way you can adjust the moving and turning speed with sliders (see picture: “ArduinoBlue”). Additionally the ultrasonic is meassuring if there are obstacles in the direction straight on (the servo engine is turned off in this mode). If you are about the crash at a wall the car will turn to one side. But you have to be careful with driving too fast.
- Auto mode: This second mode gets turned on and off by the “Auto On”/ “Auto Off” Buttons. In this mode the car drives on its own using a turning ultrasonic sensor to avoid obstacles.
Obviously there are still things to optimise but I think such a project is never completely finished.






Reviews
There are no reviews yet.